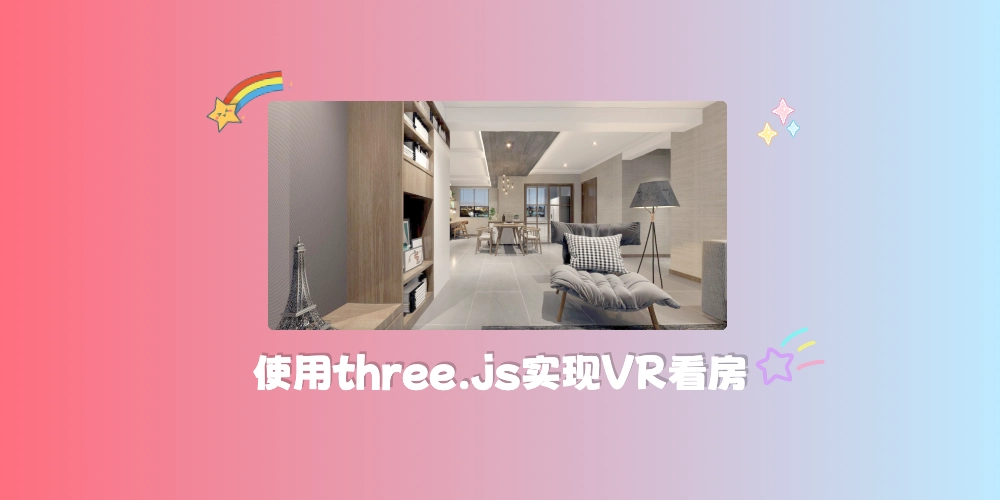
three.js 非常强大,可以用于实现各种各样酷炫的 3D 效果
我们可以使用 three.js 来轻松实现 VR 看房效果,效果如下
思路
我们知道 VR 是一种能够创造和体验虚拟世界的计算机仿真技术,使用计算机生成交互式三维动态场景,使用户能够沉浸在环境中,体验到真实世界的感觉。
要在前端打造一个 VR 看房的效果,我们肯定是需要房间的全景图,可以是一张 HDR 图,也可以是包含 6 个方向的图片
接着将这些图片按照实际拍摄方向铺在一个圆球的表面,然后让用户处于圆球的中心,这样用户不管从哪里看,看到的都是房间各个方向对应的图片,这样是不是就实现了 VR 效果
实现
首先安装 three.js
接着初始化一个基本的场景
1
2
3
4
5
6
7
8
9
10
11
12
13
14
15
16
17
18
19
20
21
22
23
24
25
26
27
28
29
30
31
32
33
34
35
36
|
import * as THREE from "three";
import { OrbitControls } from "three/examples/jsm/controls/OrbitControls";
const scene = new THREE.Scene();
const camera = new THREE.PerspectiveCamera(
75,
window.innerWidth / window.innerHeight,
0.1,
1000
);
camera.position.z = 0.1;
const renderer = new THREE.WebGLRenderer();
document.body.appendChild(renderer.domElement);
renderer.setSize(window.innerWidth, window.innerHeight);
const orbitControls = new OrbitControls(camera, renderer.domElement);
orbitControls.enableDamping = true;
window.onresize = () => {
renderer.setSize(window.innerWidth, window.innerHeight);
camera.aspect = window.innerWidth / window.innerHeight;
camera.updateProjectionMatrix();
};
const render = () => {
renderer.render(scene, camera);
orbitControls.update();
requestAnimationFrame(render);
};
render();
|
接着我们加载房间的全景图,并在加载完成后创建一个球体,然后将加载完成的纹理贴在球体上
全景图预览,格式是 jpg
1
2
3
4
5
6
7
8
9
10
11
12
13
14
15
16
17
|
const sphereGeometry = new THREE.SphereGeometry(5, 32, 32);
const loader = new THREE.TextureLoader();
loader.load(
"https://img.hoshinagi.top/blog/post/front/three/vr/vr1.jpg",
(texture) => {
const material = new THREE.MeshBasicMaterial({
map: texture,
});
const sphere = new THREE.Mesh(sphereGeometry, material);
sphere.geometry.scale(1, 1, -1);
scene.add(sphere);
}
);
|
这样就实现了 VR 看房效果
效果预览
没有显示或者显示有点问题请刷新一下页面
注意事项
如果你的图片格式是 hdr 的话,就不能使用 TextureLoader,需要使用 RGBELoader 来加载 hdr 格式的图片
他的使用方式与 TextureLoader 基本一致
1
| import { RGBELoader } from "three/examples/jsm/loaders/RGBELoader";
|
完整代码
1
2
3
4
5
6
7
8
9
10
11
12
13
14
15
16
17
18
19
20
21
22
23
24
25
26
27
28
29
30
31
32
33
34
35
36
37
38
39
40
41
42
43
44
45
46
47
48
49
50
51
|
import * as THREE from "three";
import { OrbitControls } from "three/examples/jsm/controls/OrbitControls";
const scene = new THREE.Scene();
const camera = new THREE.PerspectiveCamera(
75,
window.innerWidth / window.innerHeight,
0.1,
1000
);
camera.position.z = 0.1;
const renderer = new THREE.WebGLRenderer();
document.body.appendChild(renderer.domElement);
renderer.setSize(window.innerWidth, window.innerHeight);
const orbitControls = new OrbitControls(camera, renderer.domElement);
orbitControls.enableDamping = true;
window.onresize = () => {
renderer.setSize(window.innerWidth, window.innerHeight);
camera.aspect = window.innerWidth / window.innerHeight;
camera.updateProjectionMatrix();
};
const render = () => {
renderer.render(scene, camera);
orbitControls.update();
requestAnimationFrame(render);
};
render();
const sphereGeometry = new THREE.SphereGeometry(5, 32, 32);
const loader = new THREE.TextureLoader();
loader.load(
"https://img.hoshinagi.top/blog/post/front/three/vr/vr1.jpg",
(texture) => {
const material = new THREE.MeshBasicMaterial({
map: texture,
});
const sphere = new THREE.Mesh(sphereGeometry, material);
sphere.geometry.scale(1, 1, -1);
scene.add(sphere);
}
);
|


