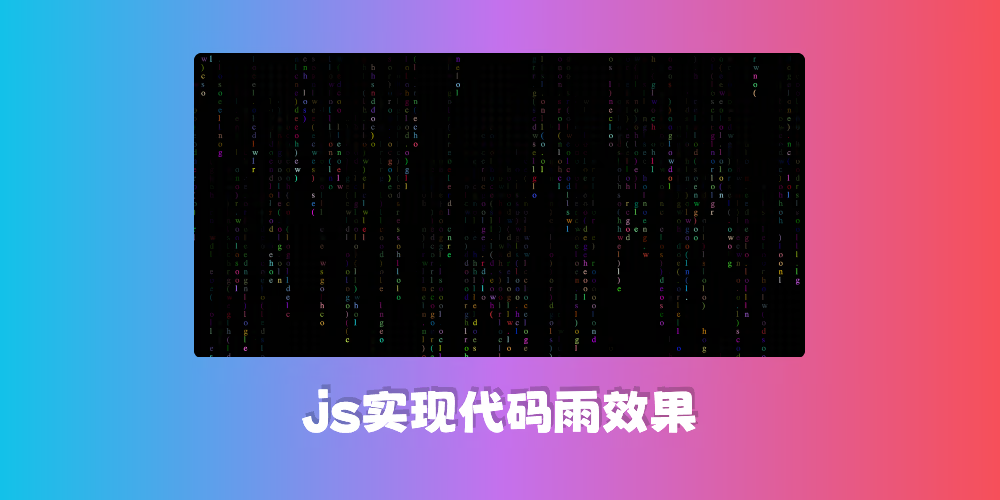
如果你用过 CSDN 的话,会发现有些博主的背景是一个黑客帝国的代码雨效果
就是很多代码字符不断的从上往下掉落
今天我们来试着使用 javascript 实现这样一个效果
效果预览
思路
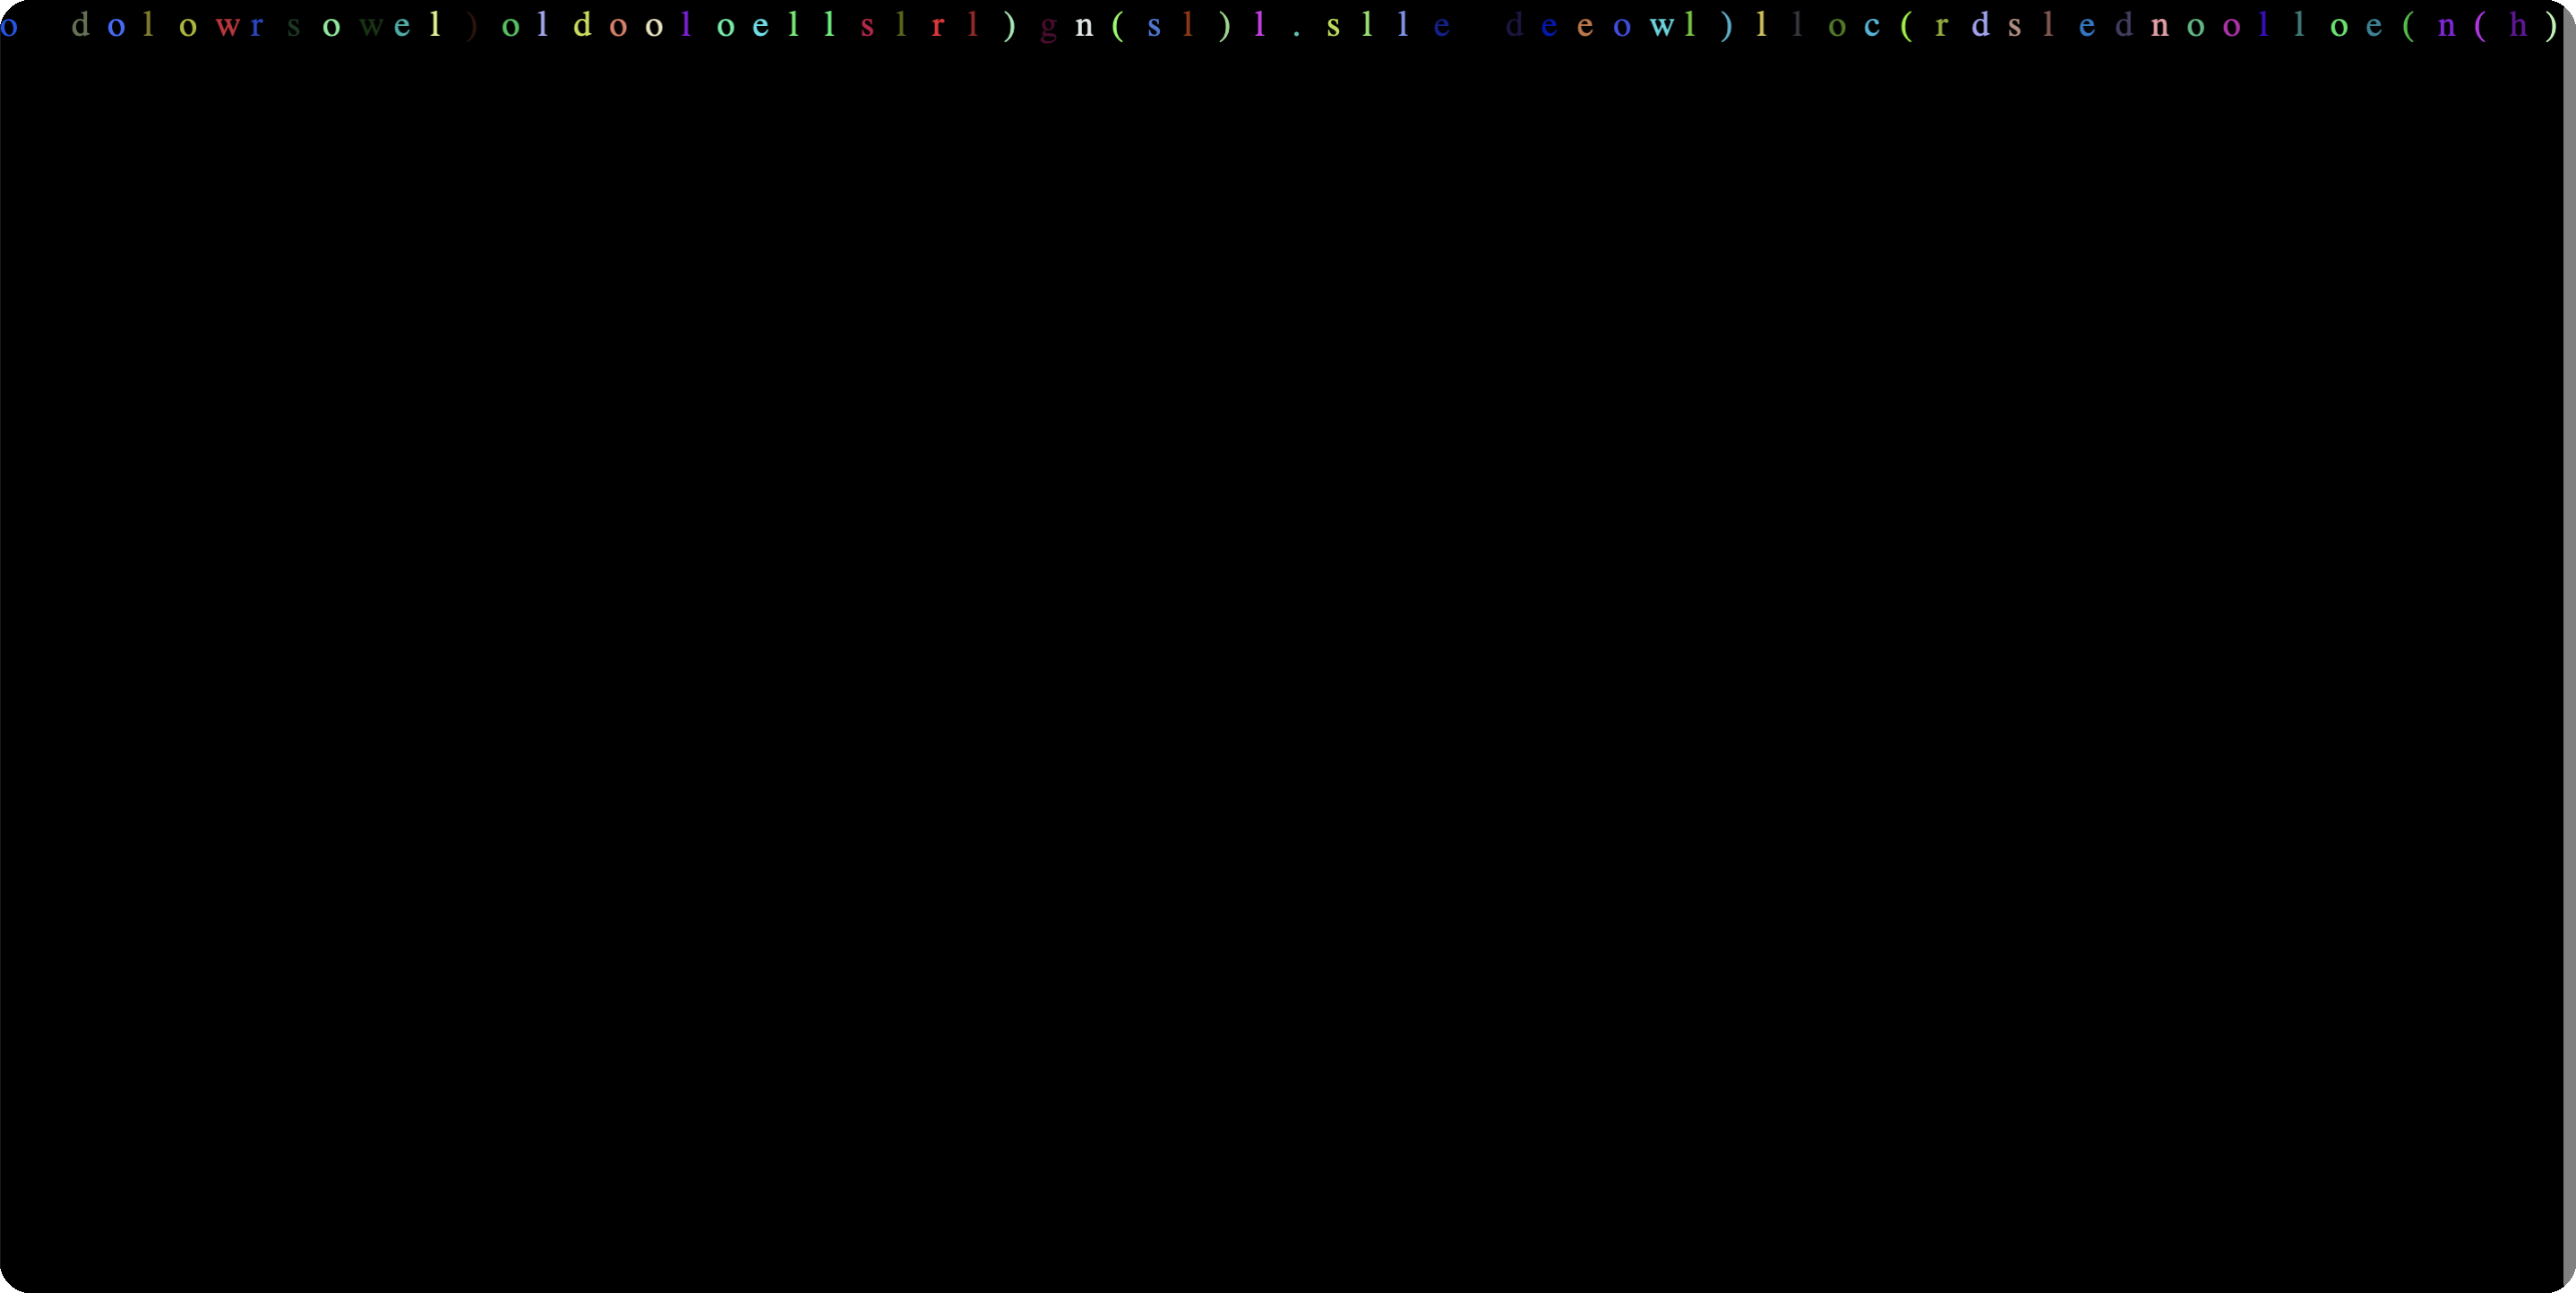
研究动画的第一步就是先将动画中的某一帧提取出来,将代码雨效果静止后,发现他们只是一些出现在不同位置的字符而已
接着在思考,整个效果是不是可以拆分成多个列效果,因为每一列实现的效果都是一样的,都是字符不断往下掉落,那么我们只要实现了一列的动画效果,然后复制多份,就实现了整个效果?
接着我们研究单独一列的动画效果
我们会发现字符往下掉的途中还会有一个残影,并且字符会随机发生改变,比如掉下去之后就从字幕 s 变成了 m
我们先考虑残影的实现,是不是只需要更改上一次绘制的字符的透明度就好了,比如下落前先将上一次绘制的字符的透明度从 1 变成 0.1,然后再绘制下落的那个字符,这样是不是就实现了残影效果
那如何改变透明度呢?因为每一列都需要同步这种操作,所以我们可以考虑不修改字符的透明度,可以在每次绘制的时候先往画布上面涂上一层透明度为 0.1 的黑色背景覆盖在上面,然后再绘制下落的字符就好了
解决了残影的实现,接下来思考如何绘制下落的那个字符
首先我们知道下落的那个字符是随机的,所以我们需要随机生成一个字符,然后绘制到哪里呢?
如果把这两行看成是一个文本域,是不是需要绘制到下一行?那么他们之间的间距就是一个字体的大小?
所以把下一个字符绘制到上一个字符的 y 轴位置往下一个字体大小就好了
接着处理边界问题,是不是只要当前绘制的字符的 y 轴位置大于画布的高度,然后下一个字符从画布就要从最顶端开始绘制
这样基本效果我们就已经实现了,但是这样我们还需要一个层次不齐的绘制效果
这个我们可以使用一个随机数,比如当当前绘制的字符超过画布的高度,并且随机数大于 0.9 的时候,才从最顶端开始绘制,这样就可以实现层次不齐的效果
实现
先准备好一个基本的 html 结构
1
2
3
4
5
6
7
8
9
10
11
12
13
14
15
16
17
18
19
20
21
22
23
24
25
26
27
28
| <!DOCTYPE html>
<html lang="en">
<head>
<meta charset="UTF-8" />
<meta name="viewport" content="width=device-width, initial-scale=1.0" />
<title>Document</title>
<style>
* {
padding: 0;
margin: 0;
}
body {
background-color: #000;
}
canvas {
height: 100vh;
width: 100vw;
}
</style>
</head>
<body>
<canvas class="canvas"></canvas>
<script></script>
</body>
</html>
|
接着再编写 js 脚本初始化 canvas 配置,并定义字体参数和两个随机生成函数
1
2
3
4
5
6
7
8
9
10
11
12
13
14
15
16
17
18
19
20
21
22
23
24
25
26
| const canvas = document.querySelector("canvas");
const ctx = canvas.getContext("2d");
const height = window.innerHeight * window.devicePixelRatio;
const width = window.innerWidth * window.devicePixelRatio;
canvas.width = width;
canvas.height = height;
const fontSize = 20 * window.devicePixelRatio;
const columnWidth = fontSize;
const columnCount = Math.round(width / columnWidth);
const nextChar = new Array(columnCount).fill(0);
const getRandomColor = () => {
return `rgb(${Math.floor(Math.random() * 255)},${Math.floor(
Math.random() * 255
)},${Math.floor(Math.random() * 255)})`;
};
const getRandomChar = () => {
const str = "console.log(hello world)";
return str.charAt(Math.floor(Math.random() * str.length));
};
|
接着我们就可以开始编写绘制函数了,在脚本中添加以下内容
1
2
3
4
5
6
7
8
9
10
11
12
13
14
15
16
17
18
19
20
21
22
23
24
25
26
27
28
29
| const draw = () => {
ctx.fillStyle = "rgba(0, 0, 0, 0.1)";
ctx.fillRect(0, 0, width, height);
for (let i = 0; i < columnCount; i++) {
const char = getRandomChar();
const color = getRandomColor();
ctx.fillStyle = color;
ctx.font = `${fontSize}px "Roboto Mono"`;
const s = nextChar[i];
const x = i * columnWidth;
const y = (s + 1) * fontSize;
if (y >= height && Math.random() > 0.9) {
nextChar[i] = 0;
} else {
nextChar[i]++;
}
ctx.fillText(char, x, y);
}
};
|
接着我们调用 draw 函数
1
2
3
4
5
6
7
8
9
10
11
12
13
14
15
16
17
18
19
20
21
22
23
24
25
26
27
28
29
30
31
32
33
34
35
36
37
38
39
40
41
42
43
44
45
46
47
48
49
50
51
52
53
54
55
56
57
58
59
60
| const canvas = document.querySelector("canvas");
const ctx = canvas.getContext("2d");
const height = window.innerHeight * window.devicePixelRatio;
const width = window.innerWidth * window.devicePixelRatio;
canvas.width = width;
canvas.height = height;
const fontSize = 20 * window.devicePixelRatio;
const columnWidth = fontSize;
const columnCount = Math.round(width / columnWidth);
const nextChar = new Array(columnCount).fill(0);
const getRandomColor = () => {
return `rgb(${Math.floor(Math.random() * 255)},${Math.floor(
Math.random() * 255
)},${Math.floor(Math.random() * 255)})`;
};
const getRandomChar = () => {
const str = "console.log(hello world)";
return str.charAt(Math.floor(Math.random() * str.length));
};
const draw = () => {
ctx.fillStyle = "rgba(0, 0, 0, 0.1)";
ctx.fillRect(0, 0, width, height);
for (let i = 0; i < columnCount; i++) {
const char = getRandomChar();
const color = getRandomColor();
ctx.fillStyle = color;
ctx.font = `${fontSize}px "Roboto Mono"`;
const s = nextChar[i];
const x = i * columnWidth;
const y = (s + 1) * fontSize;
if (y >= height && Math.random() > 0.9) {
nextChar[i] = 0;
} else {
nextChar[i]++;
}
ctx.fillText(char, x, y);
}
};
draw();
|
可以看到我们静态效果已经实现了
接着我们需要编写一个渲染函数,每一帧都调用不断的绘制来实现动画效果
修改上面代码如下
1
2
3
4
5
6
7
8
9
10
11
12
13
14
15
16
17
18
19
20
21
22
23
24
25
26
27
28
29
30
31
32
33
34
35
36
37
38
39
40
41
42
43
44
45
46
47
48
49
50
51
52
53
54
55
56
57
58
59
60
61
62
63
64
65
66
67
68
| const canvas = document.querySelector("canvas");
const ctx = canvas.getContext("2d");
const height = window.innerHeight * window.devicePixelRatio;
const width = window.innerWidth * window.devicePixelRatio;
canvas.width = width;
canvas.height = height;
const fontSize = 20 * window.devicePixelRatio;
const columnWidth = fontSize;
const columnCount = Math.round(width / columnWidth);
const nextChar = new Array(columnCount).fill(0);
const getRandomColor = () => {
return `rgb(${Math.floor(Math.random() * 255)},${Math.floor(
Math.random() * 255
)},${Math.floor(Math.random() * 255)})`;
};
const getRandomChar = () => {
const str = "console.log(hello world)";
return str.charAt(Math.floor(Math.random() * str.length));
};
const draw = () => {
ctx.fillStyle = "rgba(0, 0, 0, 0.1)";
ctx.fillRect(0, 0, width, height);
for (let i = 0; i < columnCount; i++) {
const char = getRandomChar();
const color = getRandomColor();
ctx.fillStyle = color;
ctx.font = `${fontSize}px "Roboto Mono"`;
const s = nextChar[i];
const x = i * columnWidth;
const y = (s + 1) * fontSize;
if (y >= height && Math.random() > 0.9) {
nextChar[i] = 0;
} else {
nextChar[i]++;
}
ctx.fillText(char, x, y);
}
};
const render = () => {
draw();
requestAnimationFrame(render);
};
render();
|
这样我们的效果就完全实现啦
完整代码
1
2
3
4
5
6
7
8
9
10
11
12
13
14
15
16
17
18
19
20
21
22
23
24
25
26
27
28
29
30
31
32
33
34
35
36
37
38
39
40
41
42
43
44
45
46
47
48
49
50
51
52
53
54
55
56
57
58
59
60
61
62
63
64
65
66
67
68
69
70
71
72
73
74
75
76
77
78
79
| <!DOCTYPE html>
<html lang="en">
<head>
<meta charset="UTF-8" />
<meta name="viewport" content="width=device-width, initial-scale=1.0" />
<title>Document</title>
<style>
* {
padding: 0;
margin: 0;
}
body {
background-color: #000;
}
canvas {
height: 100vh;
width: 100vw;
}
</style>
</head>
<body>
<canvas class="canvas"></canvas>
<script>
const canvas = document.querySelector("canvas");
const ctx = canvas.getContext("2d");
const height = window.innerHeight * window.devicePixelRatio;
const width = window.innerWidth * window.devicePixelRatio;
canvas.width = width;
canvas.height = height;
const fontSize = 20 * window.devicePixelRatio;
const columnWidth = fontSize;
const columnCount = Math.round(width / columnWidth);
const nextChar = new Array(columnCount).fill(0);
const draw = () => {
ctx.fillStyle = "rgba(0, 0, 0, 0.1)";
ctx.fillRect(0, 0, width, height);
for (let i = 0; i < columnCount; i++) {
const char = getRandomChar();
const color = getRandomColor();
ctx.fillStyle = color;
ctx.font = `${fontSize}px "Roboto Mono"`;
const s = nextChar[i];
const x = i * columnWidth;
const y = (s + 1) * fontSize;
if (y >= height && Math.random() > 0.9) {
nextChar[i] = 0;
} else {
nextChar[i]++;
}
ctx.fillText(char, x, y);
}
};
const getRandomColor = () => {
return `rgb(${Math.floor(Math.random() * 255)},${Math.floor(
Math.random() * 255
)},${Math.floor(Math.random() * 255)})`;
};
const getRandomChar = () => {
const str = "console.log(hello world)";
return str.charAt(Math.floor(Math.random() * str.length));
};
const render = () => {
draw();
requestAnimationFrame(render);
};
render();
</script>
</body>
</html>
|
进阶
其实你还可以控制代码雨的左右移动,每次绘制的时候给一点 x 轴的随机偏移量,这样就能实现更加真实的效果。
或者你还可以将字符替换成图片,实现更加丰富的效果


